
When you have a lot of room in your yard, you might take it for granted and, although you may do some gardening, you don’t go to extremes. When you live in an apartment, however, doing any type of gardening takes a little bit of imagination and ingenuity. If you put your mind to it, however, you would be surprised with what you are able to accomplish.
Even if you are dealing with a limited amount of space, it is possible to grow an amazing amount of food. You just need the right tools to grow it. This DIY sub- irrigation planter is perfect for anybody who has a small yard or deck. It only requires a few materials and you probably already have them available.
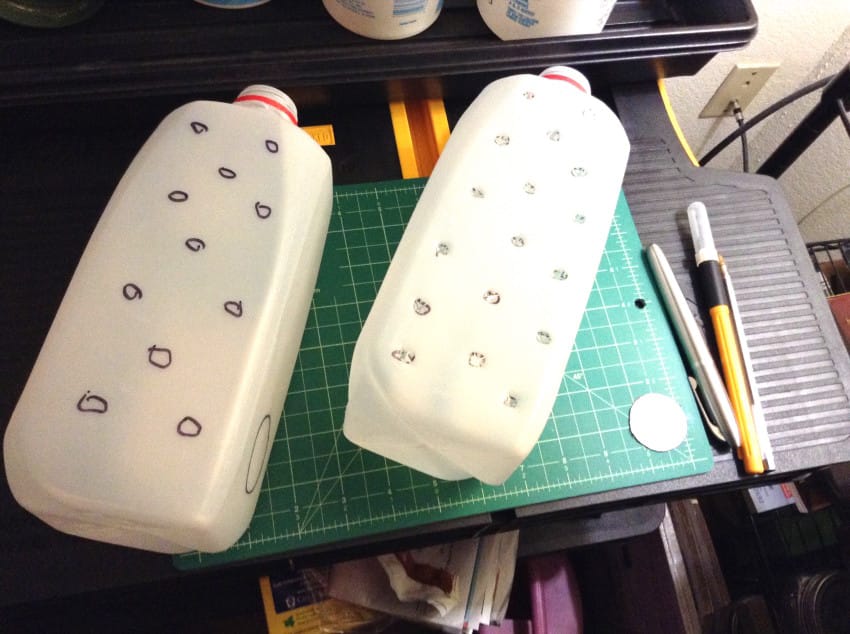
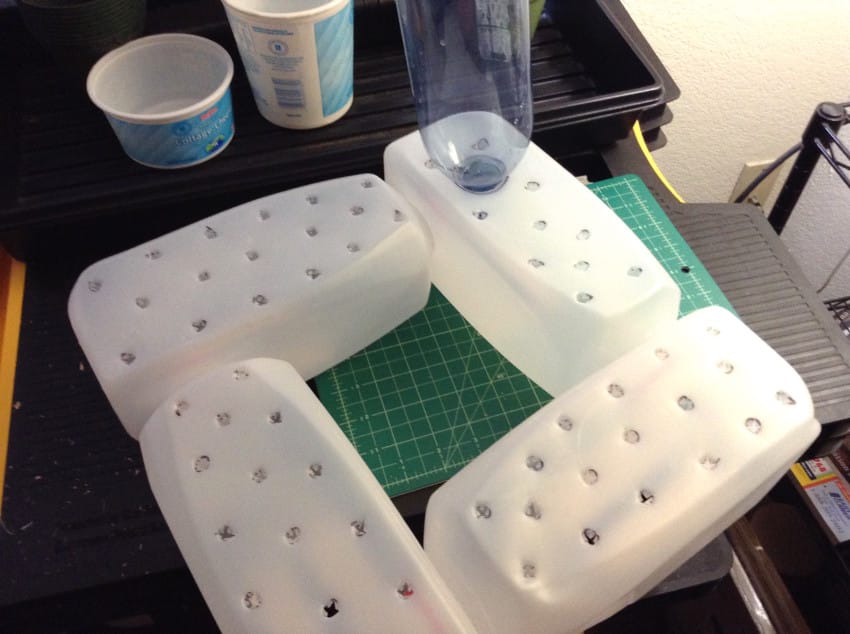
This DIY sub-irrigation planter only requires a few materials. Gather together a tall plastic milk bottle, 4 half-gallon milk jugs and an 18 gallon storage tote.
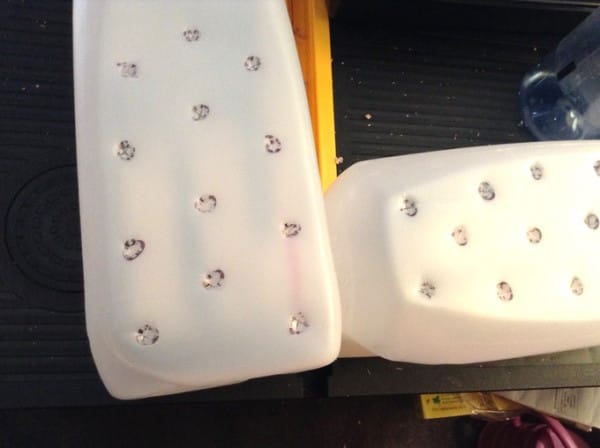
Begin by cutting small holes in the milk jugs with a hobby knife.
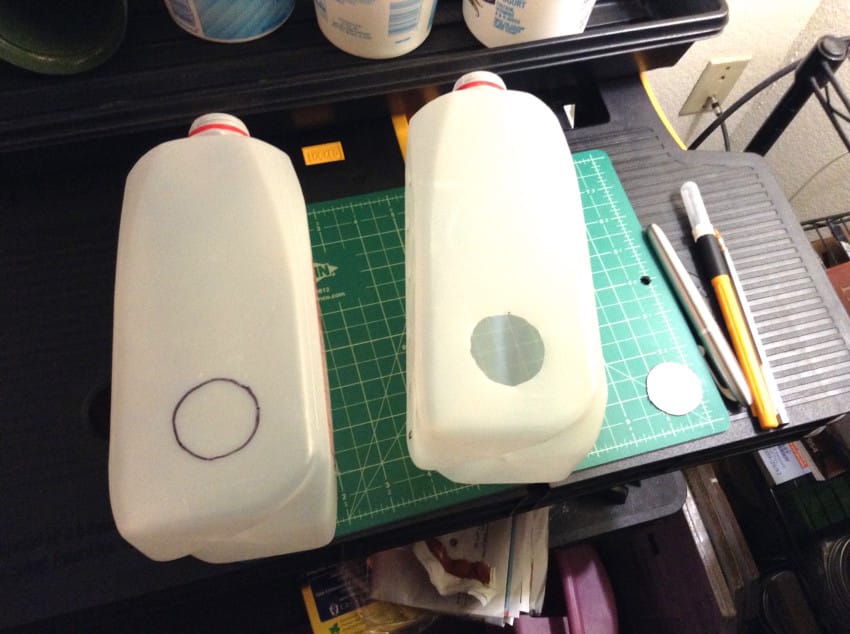
Now you will cut larger holes on the other side of the milk jug. This allows the milk jugs to interlock so that a single, large reservoir is created.
It will become easier to envision as the project continues.

A long, open slit is cut to serve as an entry point for any accumulated water at the bottom of the plastic tote. The side of the jub with the open slit will face the bottom of the tote.
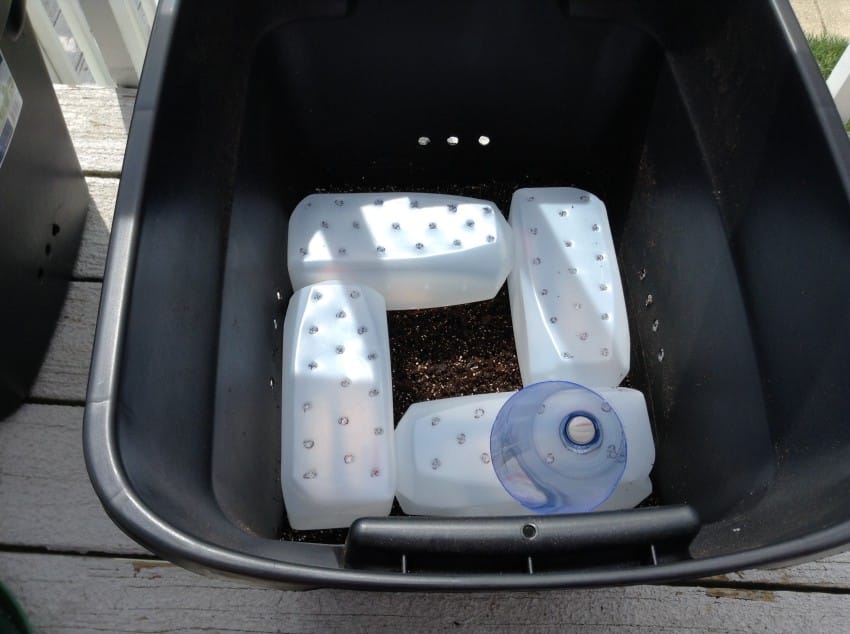
Now you begin piecing the project together.
In this picture, you see the mouth in the neck of one of the milk jugs is placed into the body of another
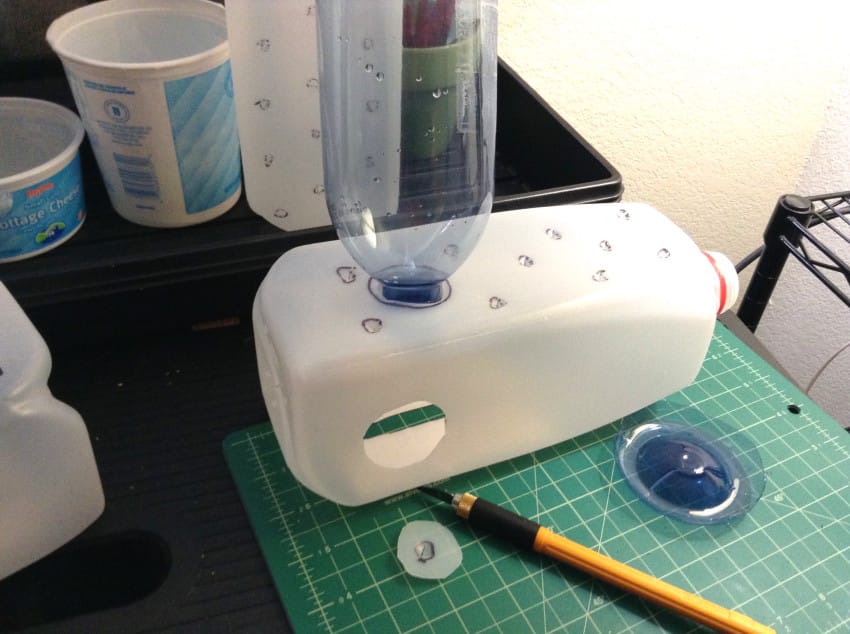
One of the 4 milk jugs will be the entry point for the reservoir. You need to cut an additional hole for the tall, skinny bottle that hasn’t been used in the project up till now.
Now you can piece the puzzle together completely. All four of the milk jugs should be connected. It isn’t necessary to have any type of seal, because the plastic is flexible and it will lock on its own once the pieces have been inserted together.
In addition, the soil also tends to seal any small gaps that are left over.
A 1/2 inch drill bit is used to drill holes in the sides of the tote. These are overflow holes that are used when it rains so that it does not hold too much water. You should drill the holes level with the top of the reservoir that was created.
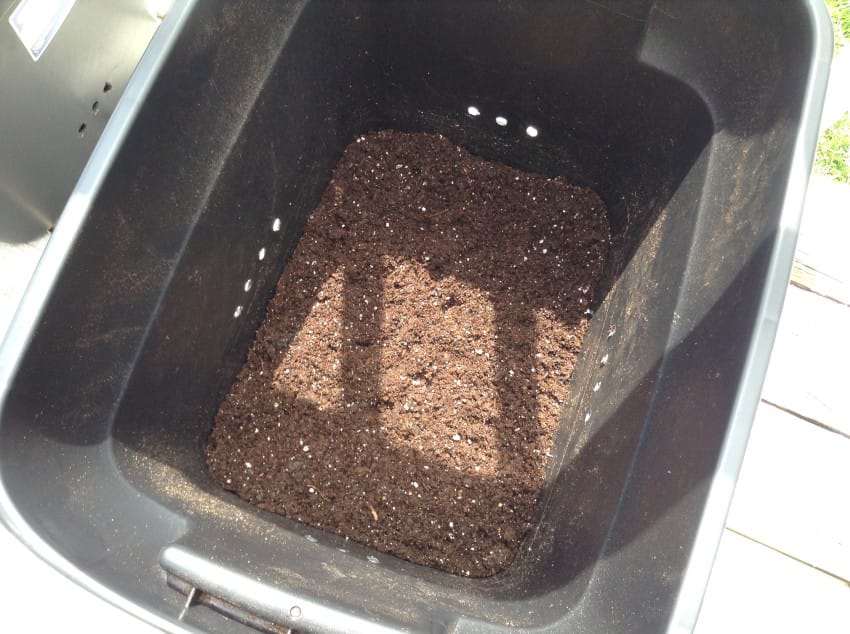
Now it is time to begin putting soil in the reservoir. 1/2 inch of potting soil at the bottom should be put down before you place the reservoir inside.
Be sure that you are using potting soil rather than regular garden soil. It will allow for proper drainage.
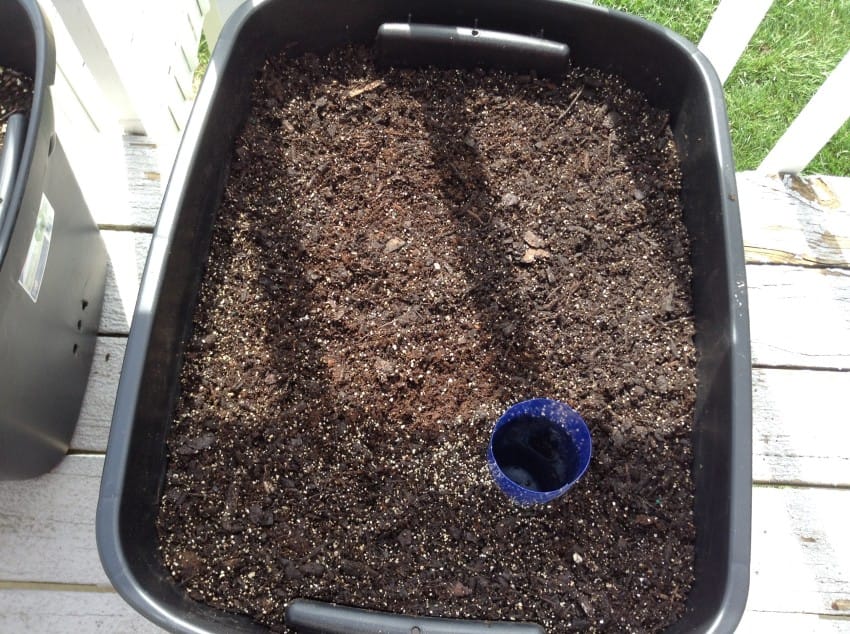
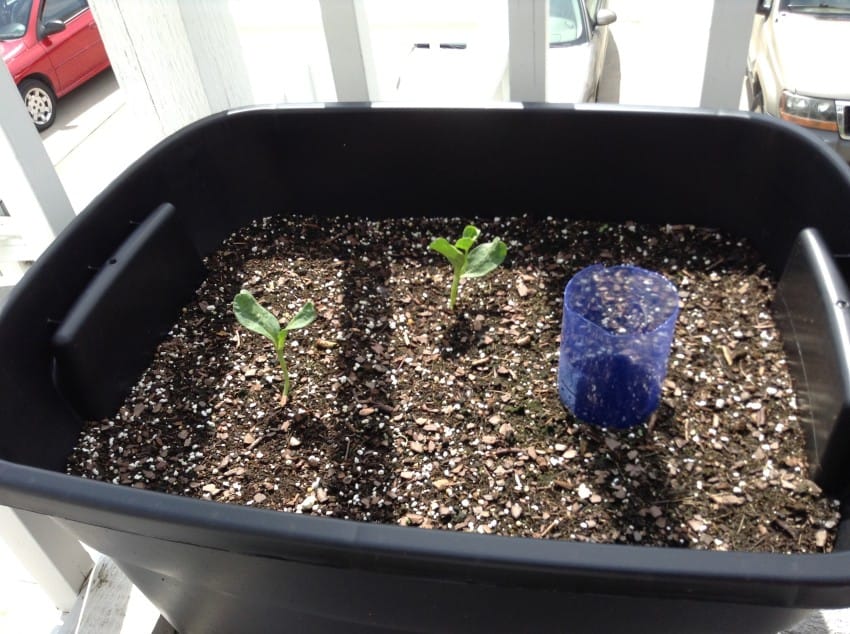
After you have finished filling the planter, it should look something like this. The plastic bottle should stick up enough so that you can add water to the reservoir or you can look in the see if it is full enough after it rains.
You know what the best thing is about this planter? It’s flexible! You can plant anything from tomatoes and peppers to melons. You can even add a trellis to expand your plant options.
Via: Little Things
Be sure to share this with your friends on Facebook