
Many people look at home improvement as being a relatively straightforward process. The fact of the matter is, however, there are many different options and when you choose the right ones, you can create something fantastic without going bankrupt in the process.
Clever DIYers can certainly show us the way to making these projects in our own home. We may not do exactly what they do, but they can inspire us and give us some creative ideas.
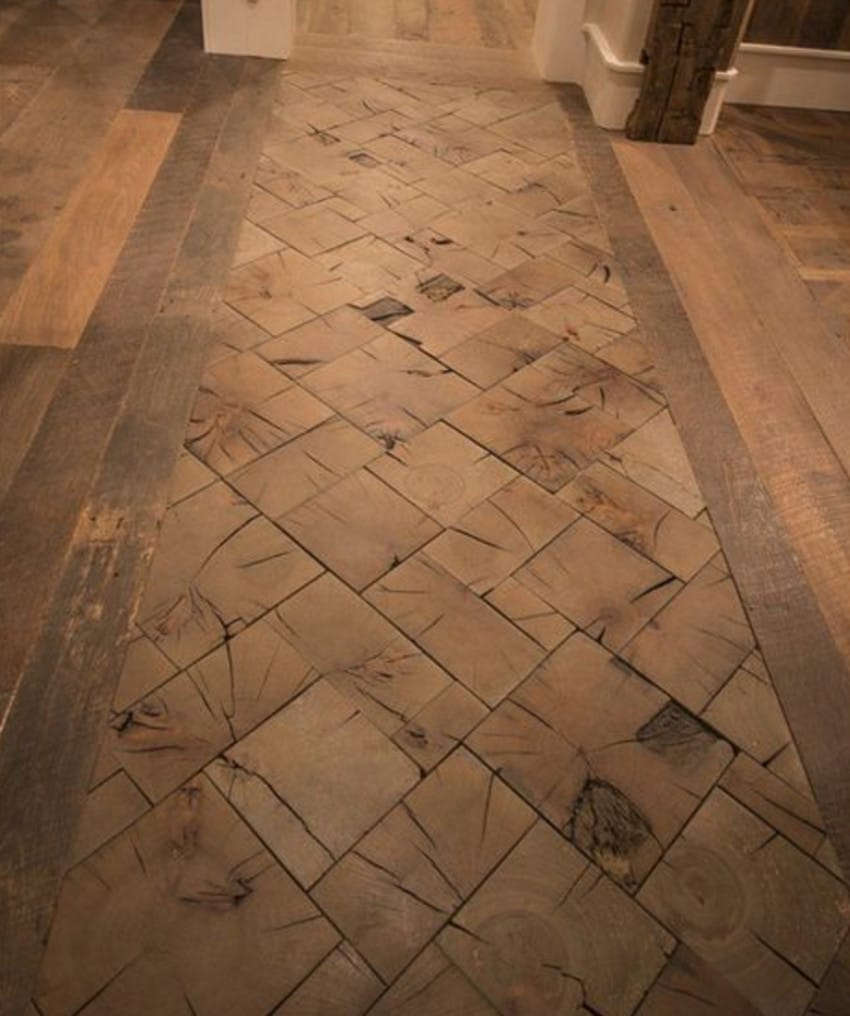
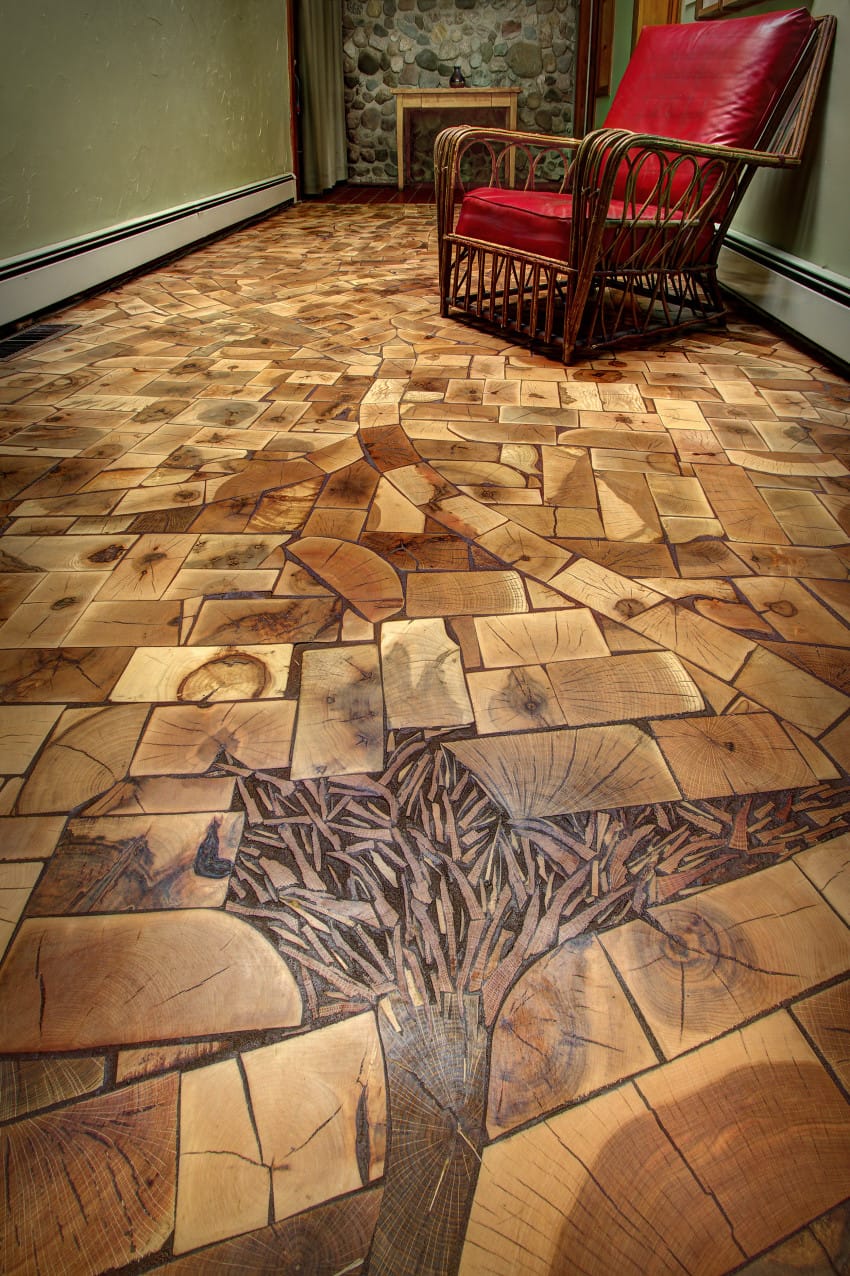
One of the many projects that we could take on is redoing the floors. We’ve seen this done in a number of different ways, including using old pallets to create an awesome hardwood floor. This project, however, uses tree ends, grout and a shiny finish to create the ultimate organic hardwood floor and you will absolutely love it!
These end grain tiles would look perfect in any home. You can follow through the project in the pictures below.
Choosing the right floor can make a difference in the way that your home looks. When you make the right choice, it can be both beautiful and elegant.
Admittedly, however, new floors can be expensive.
If you are looking for an inexpensive technique that is absolutely beautiful, this DIY project is perfect for you.
It is a unique project known as end grain flooring.
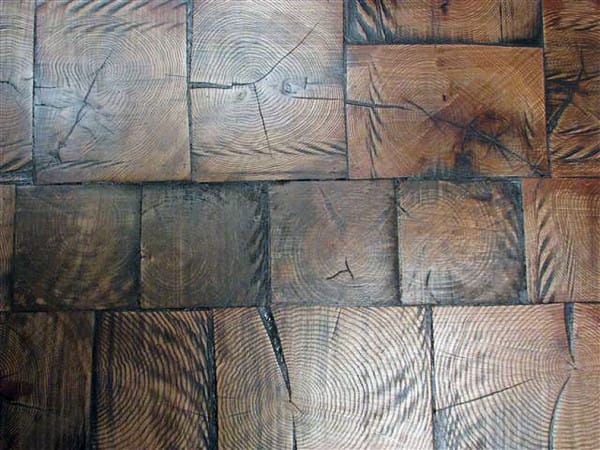
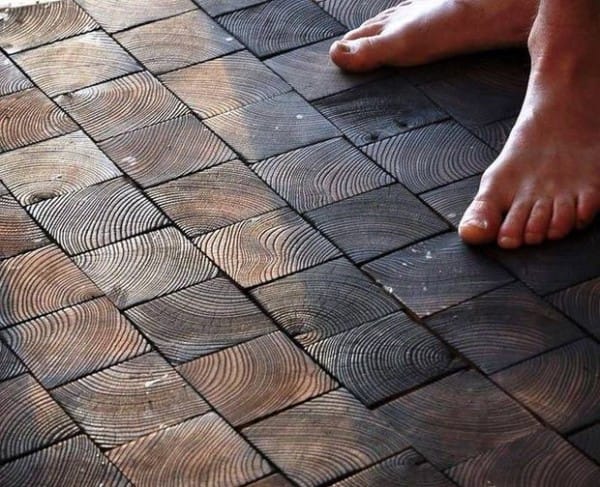
These tiles are made out of the ends of timber, allowing the wood grain to be exposed. In other words, you can make little tiles out of wood ends and then glue them together and stain them into a beautifully finished floor.
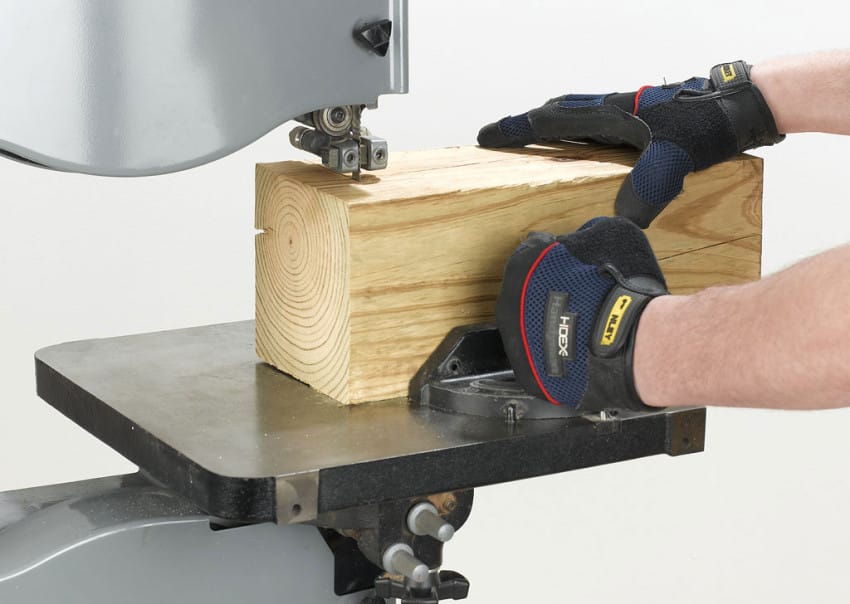
The first step is to cut pieces of timber into little tiles. Allow them to sit in the room where they will be installed for approximately two weeks so they can adjust to the climate.
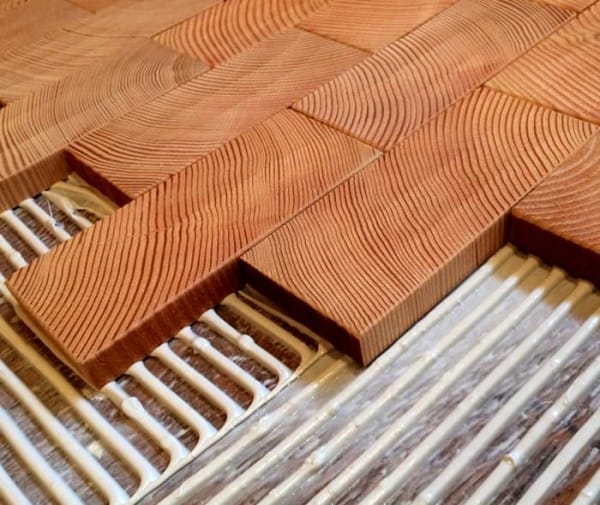
You then position the pieces together and glue them down with adhesive, just as if you are working with traditional tiles.
Depending upon the bend in the wood that naturally exists, the tiles can be arranged to create a rather interesting form.
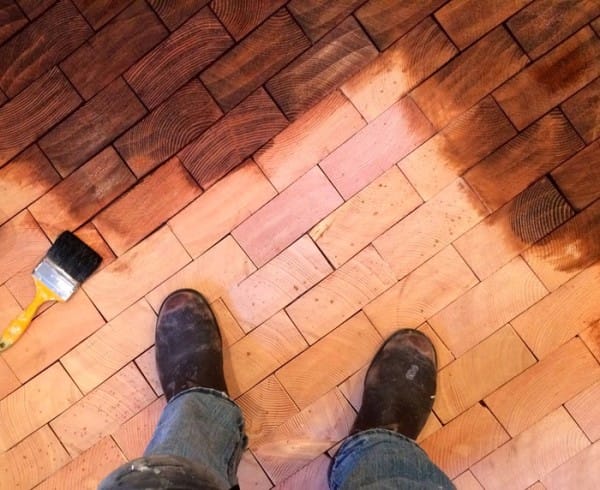
After they are glued in place and the glue has dried, you can sand them so they are free of any high edges. Stain is then added in several layers until the wood has a glossy finish and the look pops.
The last step is to seal the tiles. The wood should look absolutely intricate and have an organic design.
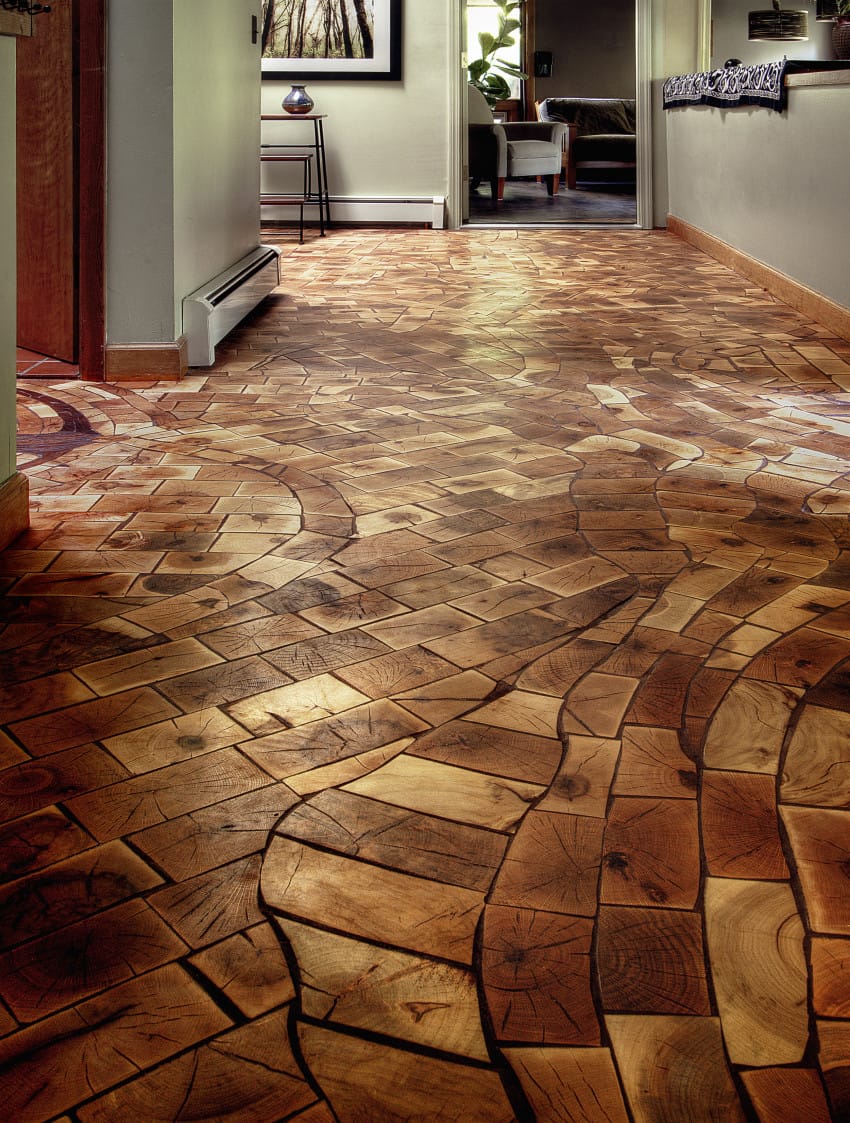
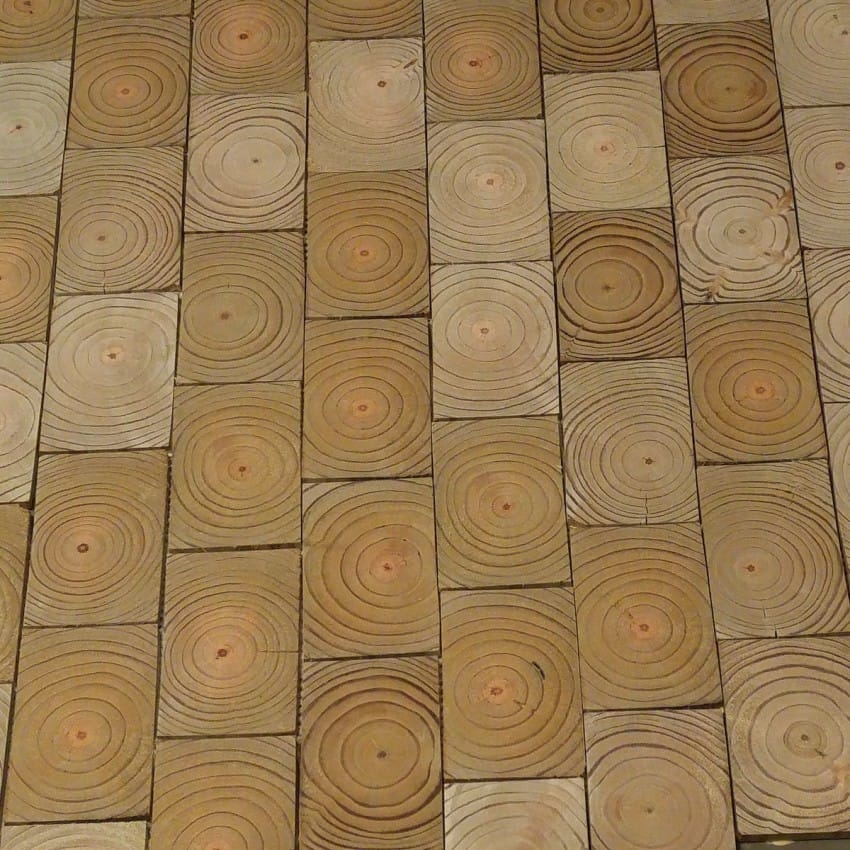
Not only is this process user-friendly, it has plenty of potential for unique creations. It depends on how the wood is cut, but the floor can absolutely come alive with natural beauty.
If you love the thought of bringing more nature into the home, these floors will be just right for you. With a little bit of know-how and some work, you can create something magical.
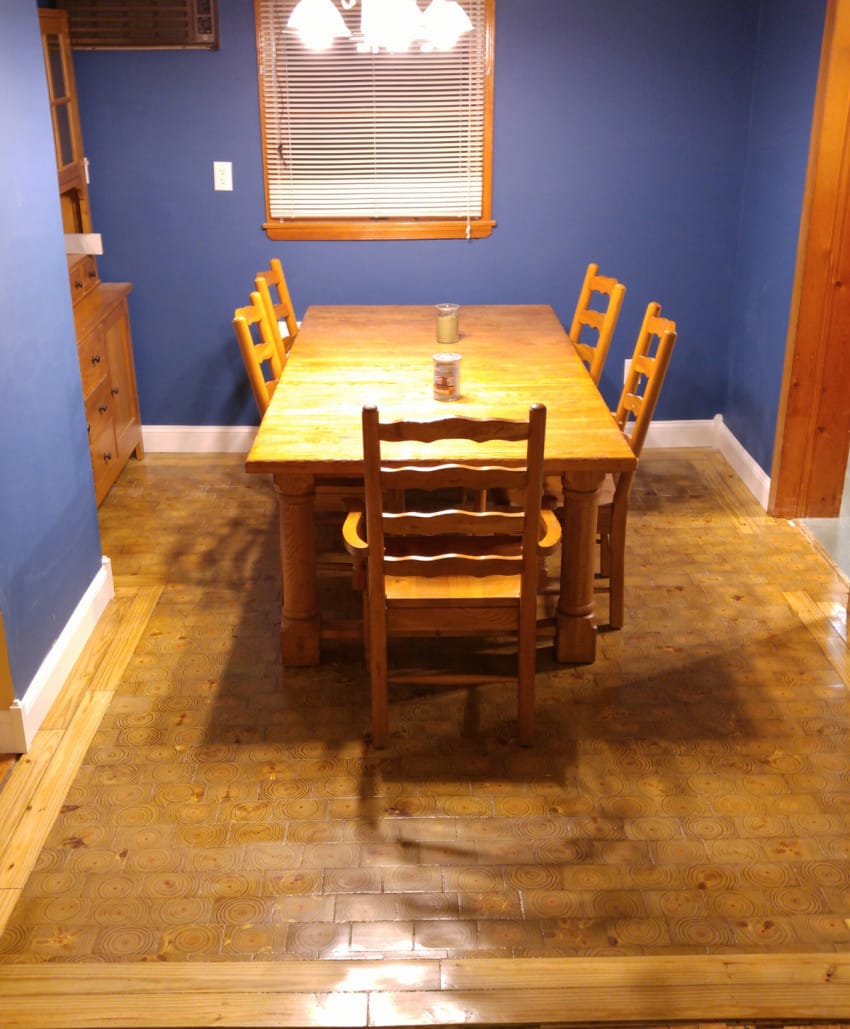
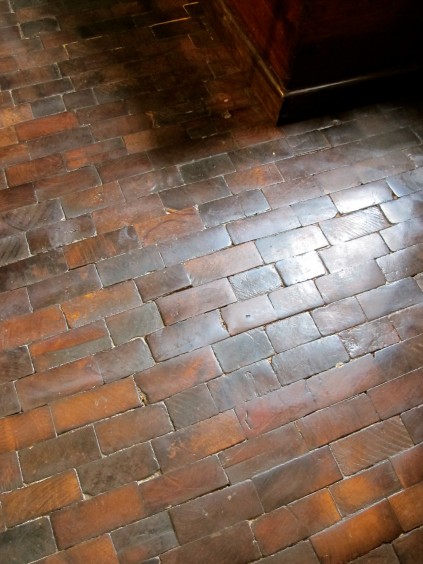
These tiles don’t even have to have a dynamic shape. You can cut them into symmetrical squares and it will still look beautiful.
These wood tiles certainly add character to your home and they are the perfect addition for any DIY home improvement project.
Via: Little Things
Be sure to share this with your friends on Facebook