
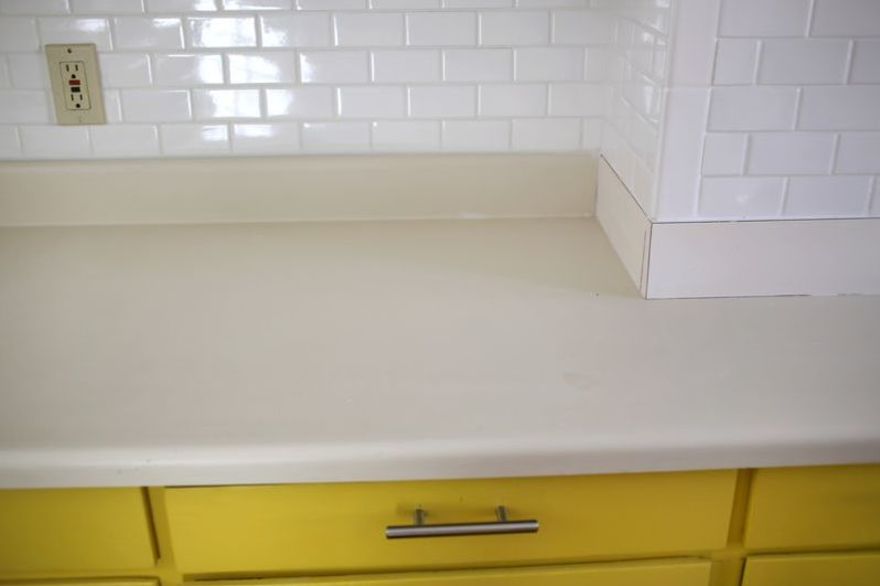
Laminate countertops are inexpensive and functional, which is why you see them in so many kitchens. It certainly is something that you can do on a budget, although it is not “cheap” by any stretch of the imagination. Unfortunately, laminate is also something that tends to need replaced from time to time, as it does show its age.
When it came time to do this DIY countertop project, they realized that they couldn’t go the laminate route. First of all, they hated laminate so it was out of the question from the start. In addition, they only had $100 to spend, which might seem like an insurmountable obstacle but wait till you see the finished product! They were about to turn laminate countertops into beautiful concrete.
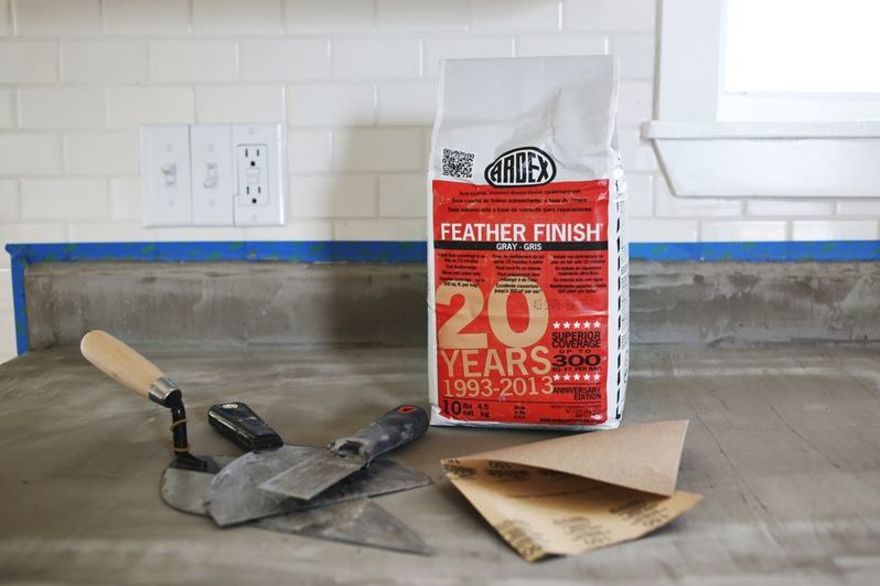
The first thing you have to do for this project is to make sure you have all of your tools and supplies gathered together. Here are some of the things that you will want to have on hand from the start.
Ardex Feather Finish (they used two bags)
Fine/Medium/Coarse Sandpaper
Hand Sander (optional)
Several Sizes and Widths of Putty Knives and Drywall Knives
Disposable Containers to Mix Concrete
Concrete Sealer (try to find food safe sealer, if you can)
Painter’s tape
Paint Roller
Brush
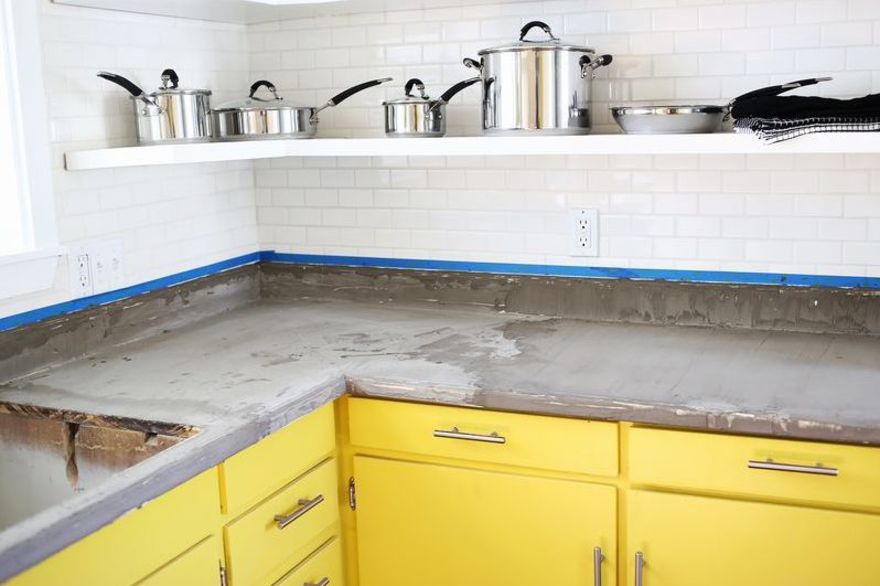
Wash down the counters thoroughly
Sand the countertops
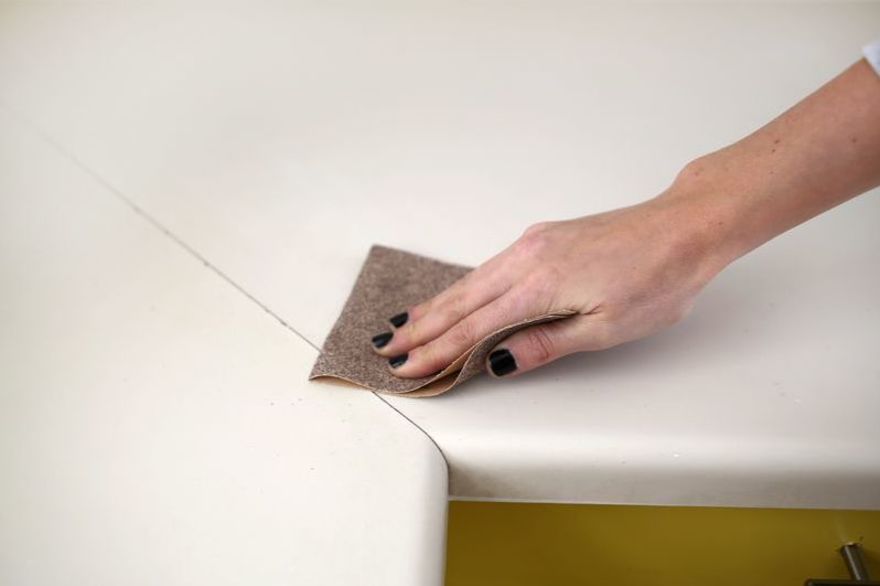
It will be easier for the cement to adhere to a rough surface. Make sure you clean them after sanding.
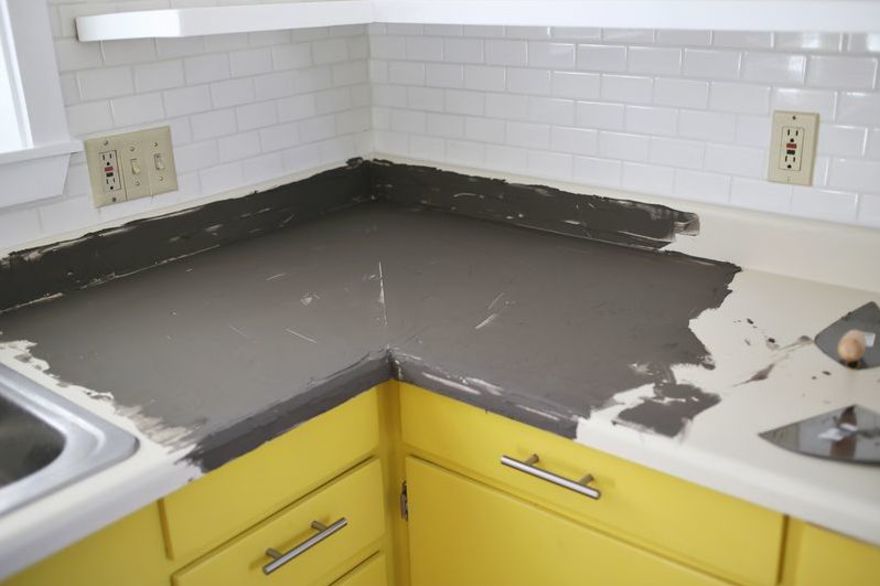
Prepare the cement and start spreading a layer on the countertops
These are the items to use
Allow the first layer to dry for 24 hours
After it dries, sand with a medium grade sandpaper to prepare for another coat. It is not necessary to get this silky smooth, but you need to make sure that the countertop is level and that there are no high spots. After sanding, dust off the countertop before applying your next coat. You should use 3 coats in total, allowing 24 hours for drying between each.
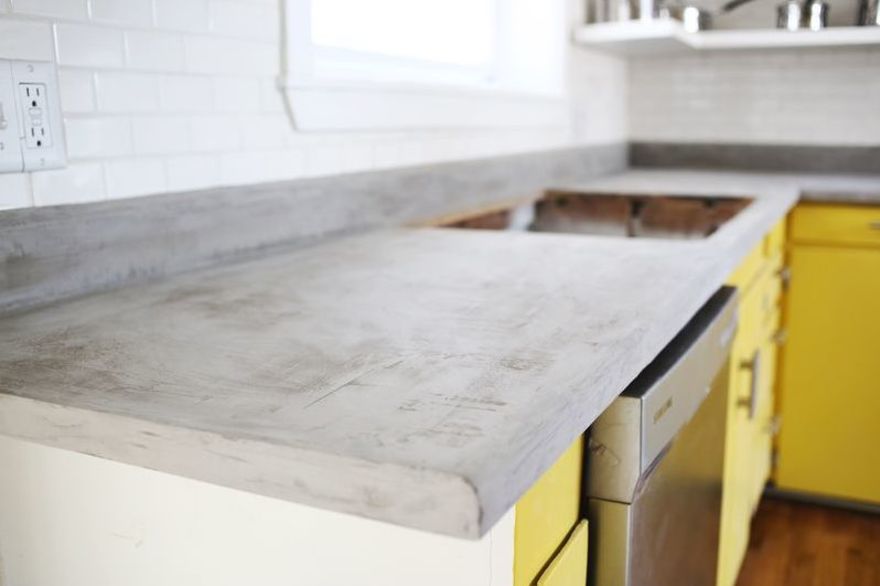
After you put on the final coat of cement, sand the surface as smooth as you can
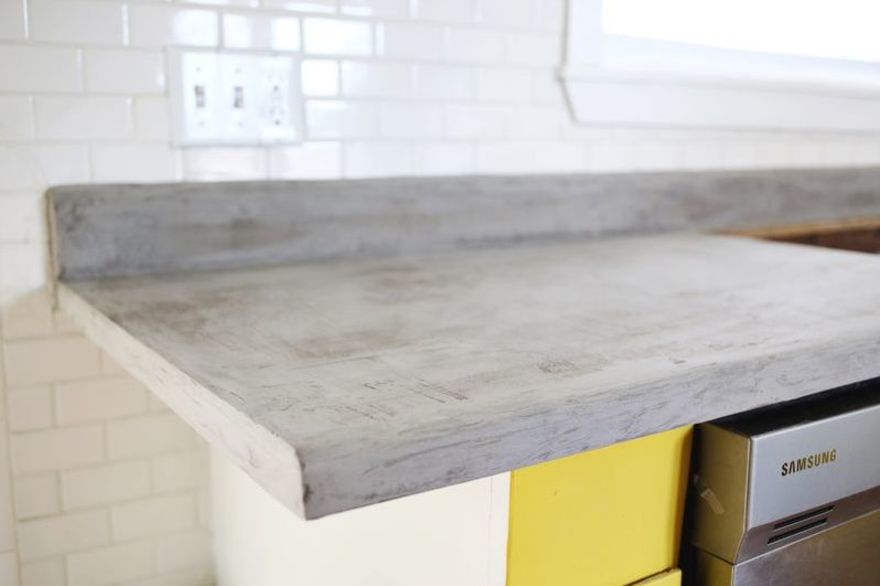
A hand sander is ideal for this step and you can expect to spend a few hours sanding the surface to get it just right. You can hand sand it as well but it is imperative that it is as smooth as possible.
Use a shop vac to remove all dust
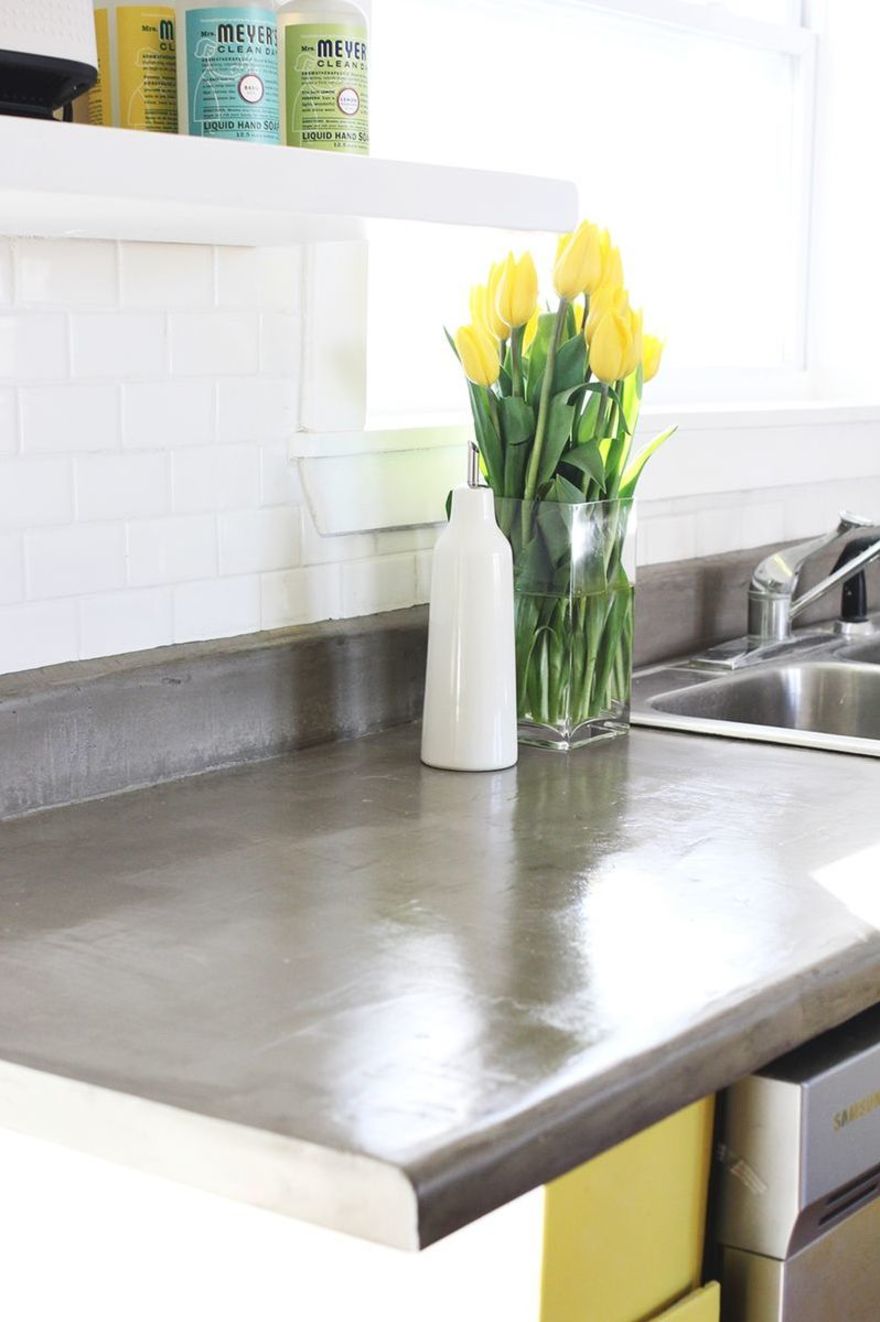
Apply three coats of water-based satin finish sealer
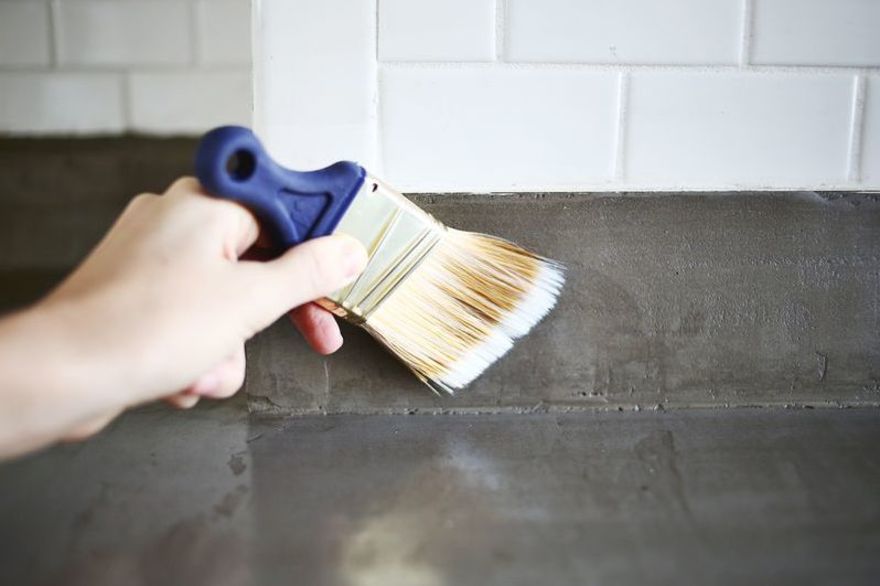
You can reinstall the sink once the sealer is applied
This is the result!

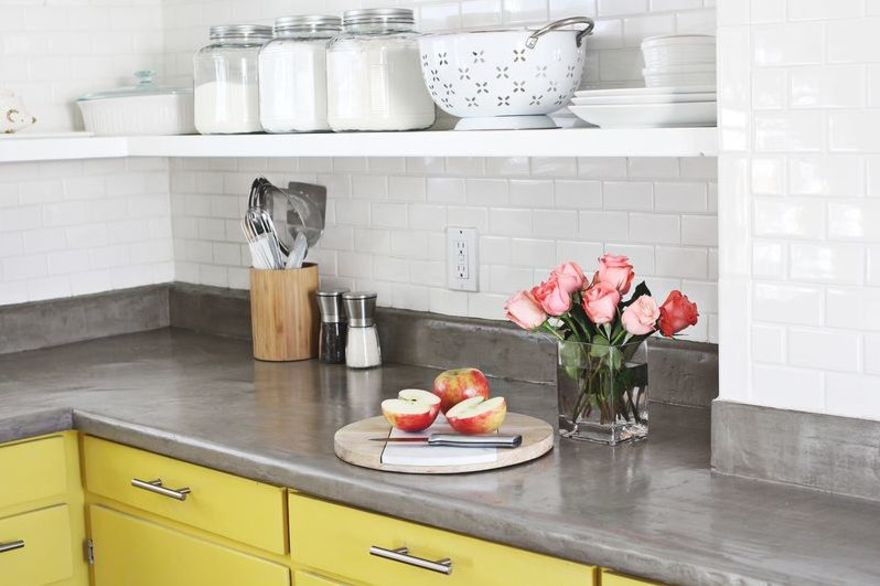
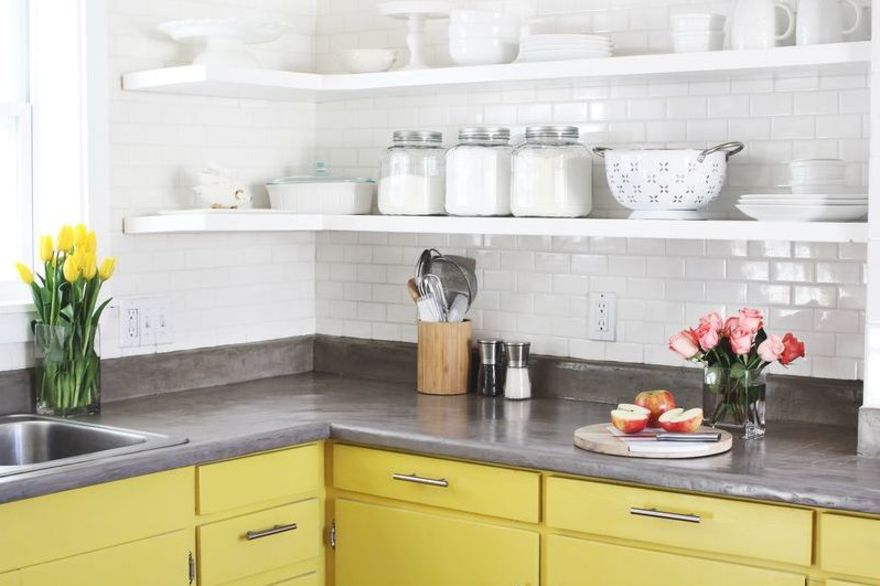
It’s amazing that this project is so beautiful and it is done on an extreme budget. It takes a few days to finish the project but it is well worth it.
Via: A Beautiful Mess
Make sure you share this amazing DIY project with your friends on Facebook