When most of us think of spring, we think of new beginnings. It seems as if something new is happening all around us, with the darkness of winter being behind us and new light, along with new growth being everywhere. Springtime is also the perfect time of year to turn your attention outdoors with some awesome DIY projects.
This particular project is one that anyone would be proud of having in their yard. It is the perfect way to upcycle, and use something that otherwise would end up on the trash heap. All you really need is to find are some pallets, which is fairly easy to do. From that point, you have the beginnings of something wonderful.
Follow these simple steps to get started.

If your yard could use a little something, you can build some planter boxes out of old pallets.
You can use Craigslist to find pallets for this project or check with a local business.
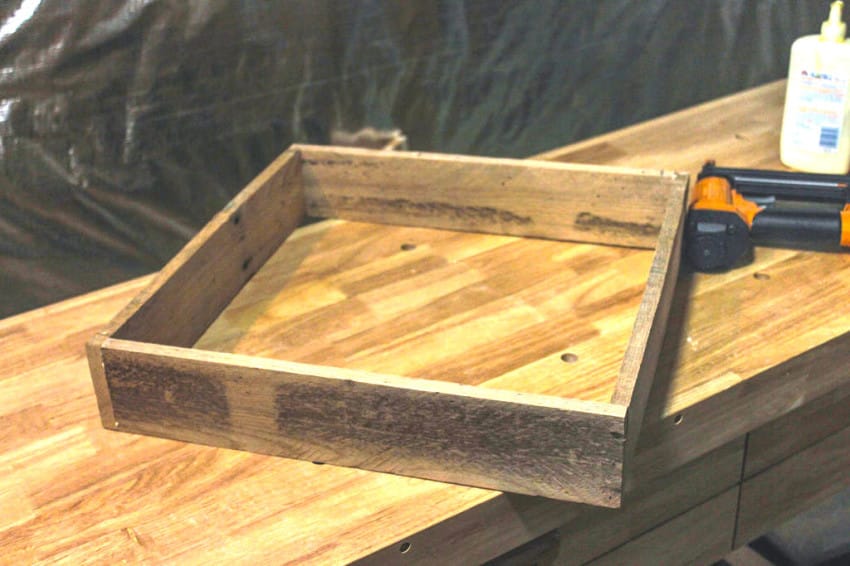
Be choosy with the pallets so you can find the best pieces. Then consider where you’re going to make each cut.
Pry the wood apart and remove the unwanted nails.

Cut each piece of board to the appropriate length. Sand them down until they are smooth and begin assembling.

After the frame is secure, glue and then nail each piece of board in place. Before long, it will begin taking shape.
At this point, you will have a beautiful planter box for free that would cost a pretty penny otherwise.
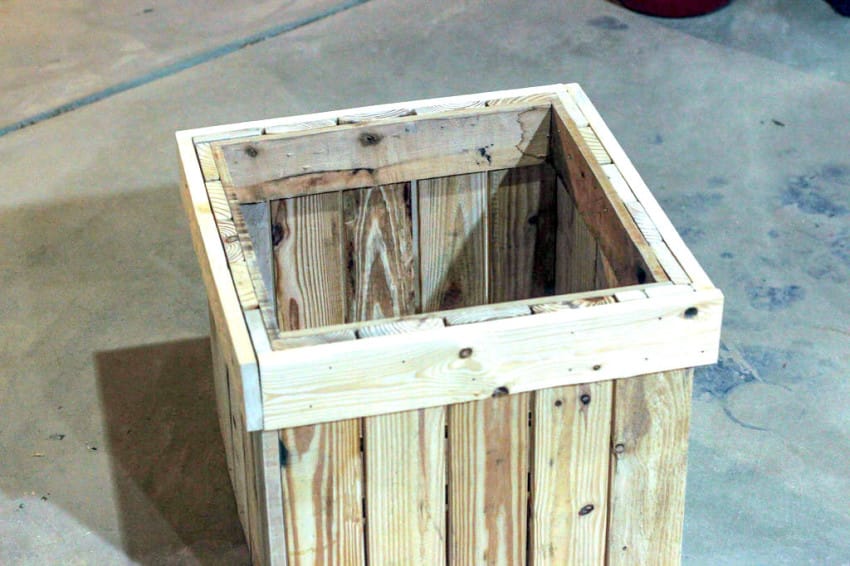
Stain the box to your color of choice
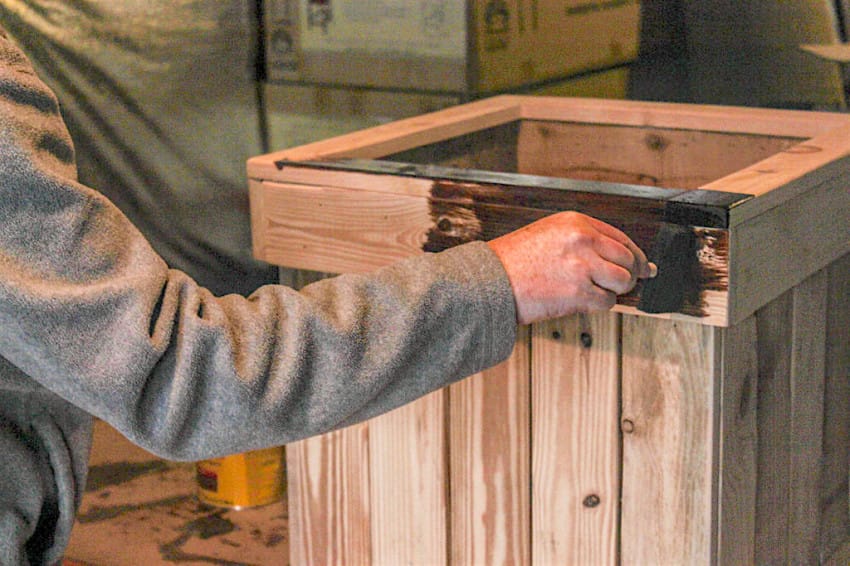
These planters work well on their own, but you could also try this ingenious addition.
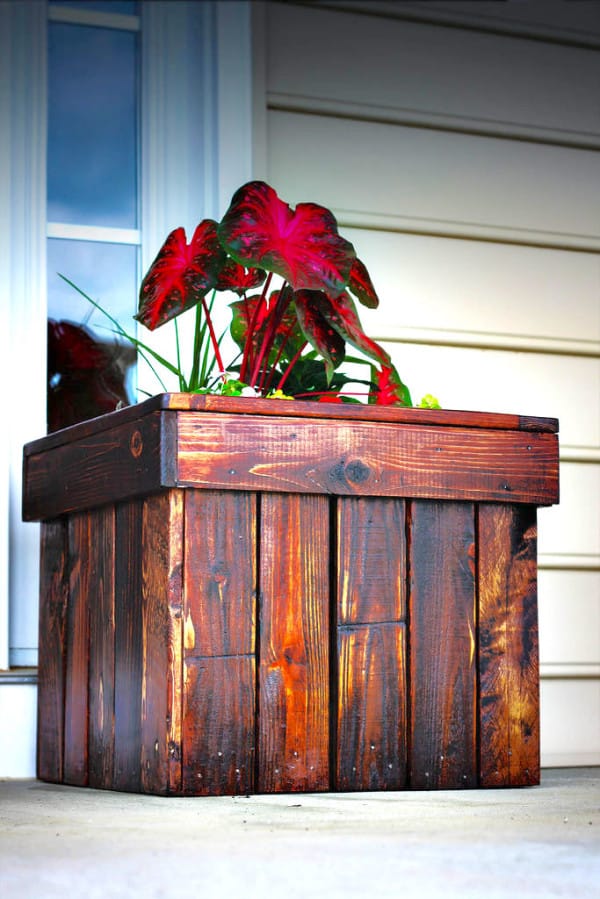
If you have already used the planters for a few years, apply a fresh coat of stain.
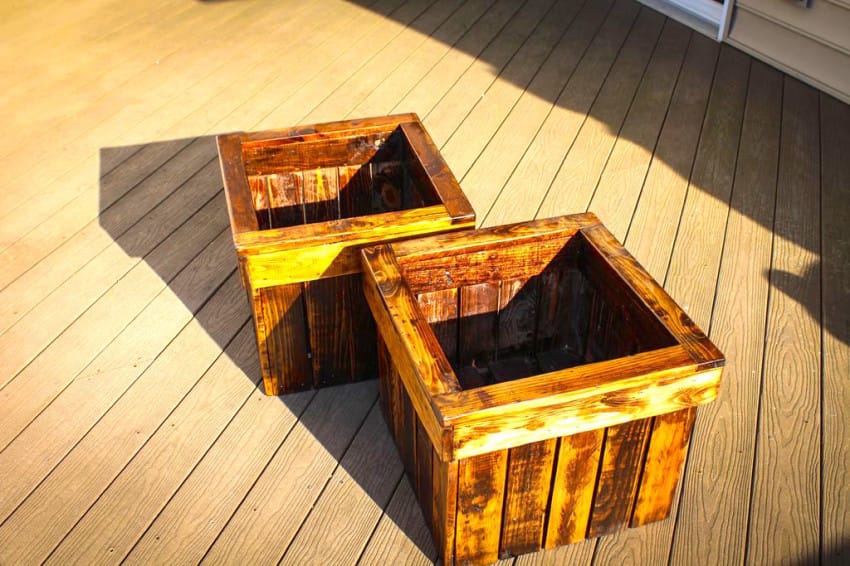
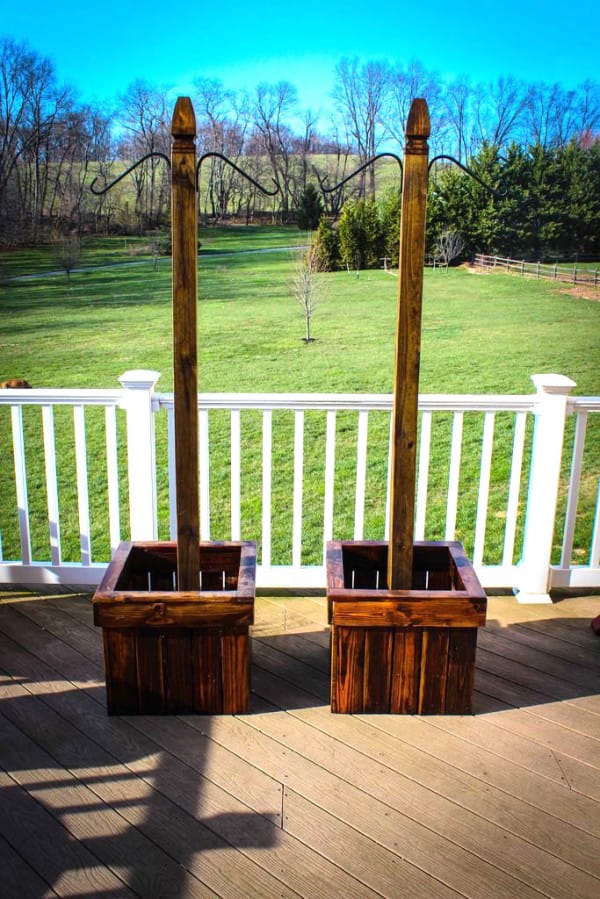
Construct some posts from 4 x 4’s that will sit inside the old planters.
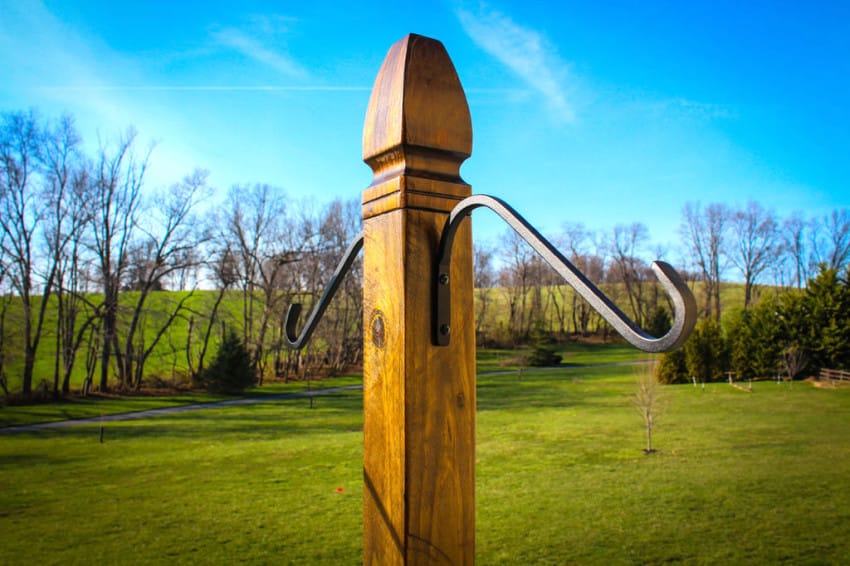
Secure the post to the base and then add some decorative hangers.
You can now add some hanging baskets to really make this the ultimate outdoor DIY project.
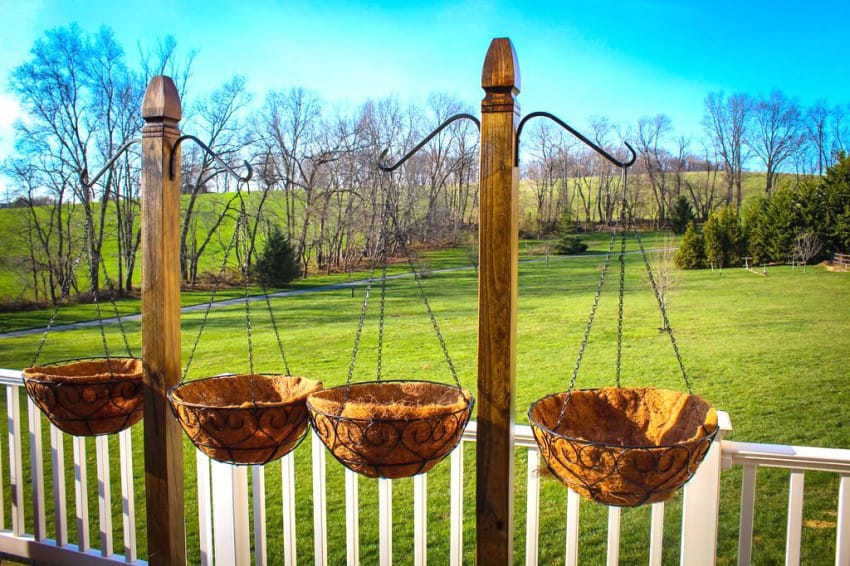
With just a few extra steps, you can transform old pallets from planters into a wonderful creation.
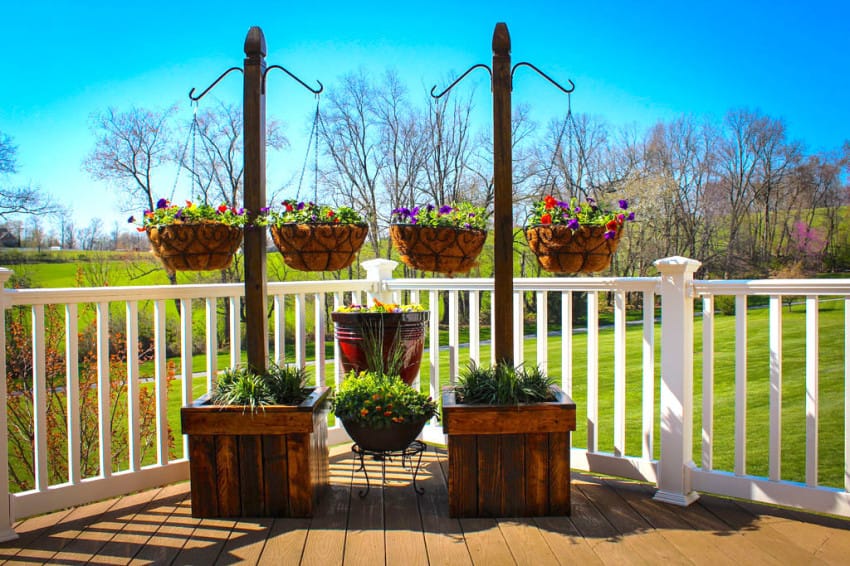
With some beautiful flowers included, these planters truly come to life.

Using old materials to create something beautiful is a wonderful way to make the most from what we have available.
Via: Little Things
Be sure to share this DIY project with your friends on Facebook
