
There is an old saying that one man’s trash is another man’s treasure, and that is certainly the case when it comes to home DIY projects. Perhaps you were looking around at a local yard sale or thrift shop and you came across an old chandelier. Some people would look at it as being a throwaway item but other people see its true potential!
If you love the look of chandeliers and want to transform an old one in the something fantastic, it is as simple as taking it outside. You will be amazed with how it looks and when you make it an outdoor solar chandelier, it is not only beautiful, it is ecologically friendly as well! Here is the simple process of making the transformation.

Make the Transformation
This is an easy project that turns a yard sale chandelier into a beautiful, solar chandelier that will light up your backyard.
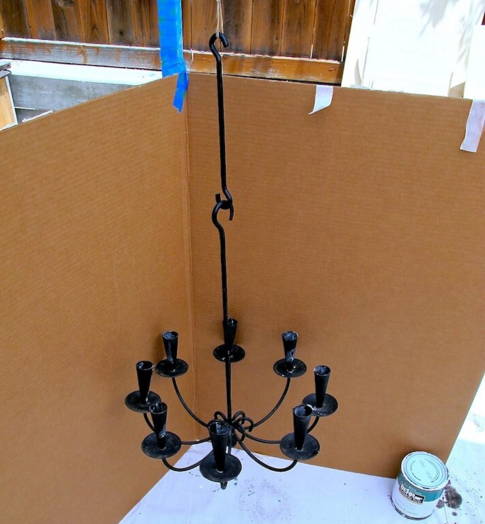
Time to Prepare It!
If you are not happy with the way the chandelier looks, thoroughly clean it, apply some primer and then let it dry.

A Splash of Color
After the primer is dry, apply a coat or two of your favorite color paint. You can either paint it by hand or you can use a paint sprayer. You might like the look of the paint when it is applied by a sprayer, as it will be more even. Make sure you give it plenty of time to dry

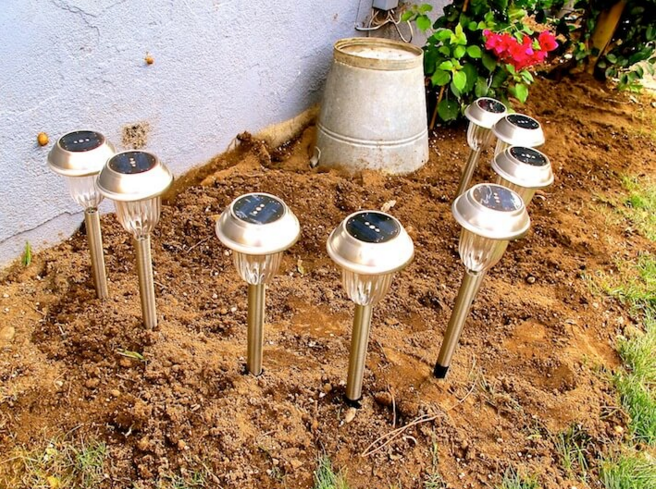
Prepare the Lights
In order to give the chandelier its cord free glow, you can use solar pathway lights. Remove the tops from the stakes to get started.
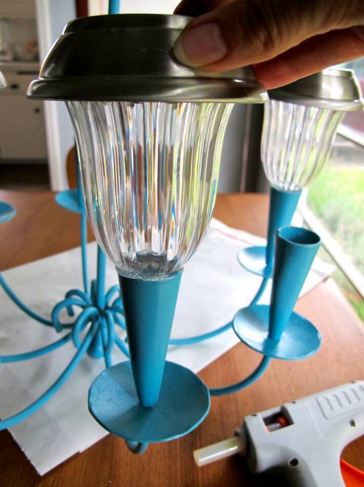
Put Them in Place
After removing the stakes, attach the tops to the chandelier with a ring of marine sealant or gorilla glue. Be sure to hold the lights in place for at least 60 seconds so the glue has time to set.
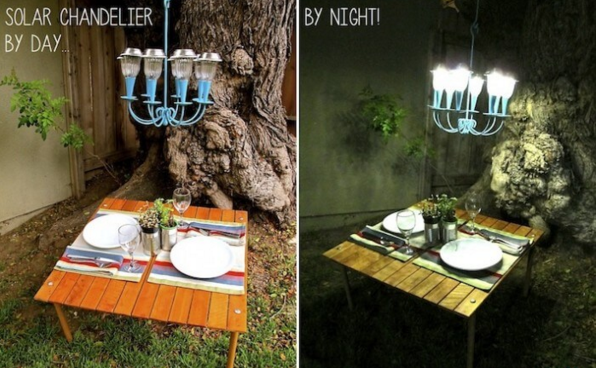
Ready to Go!
It should only take a few hours to transform a garage sale chandelier into a fantastic backyard masterpiece.

Day or Night
It is beautiful during the day and then exceptionally beautiful at night!
Via: Faith Tap
Be sure to share this DIY project with your friends on Facebook