
There is something about spending time in the great outdoors that just makes us feel better. Not only do we have fresh air when we are out in nature, we also have some quiet time to spend with our thoughts. That is what sends many people camping around the world on almost a continual basis.
Many people love the thought of camping but they don’t necessarily want to rough it by spending the night on the ground. Bugs are also a problem that makes people want to be indoors as well. You always have the option of a tent but if you want to take things to the next level, this adorable teardrop trailer is the perfect solution.
This trailer was created right on top of a trailer and it hitches to the back of a pickup truck. It is lightweight, relatively simple and practical. Best of all, it is stylish and it gets you out in the woods easily.
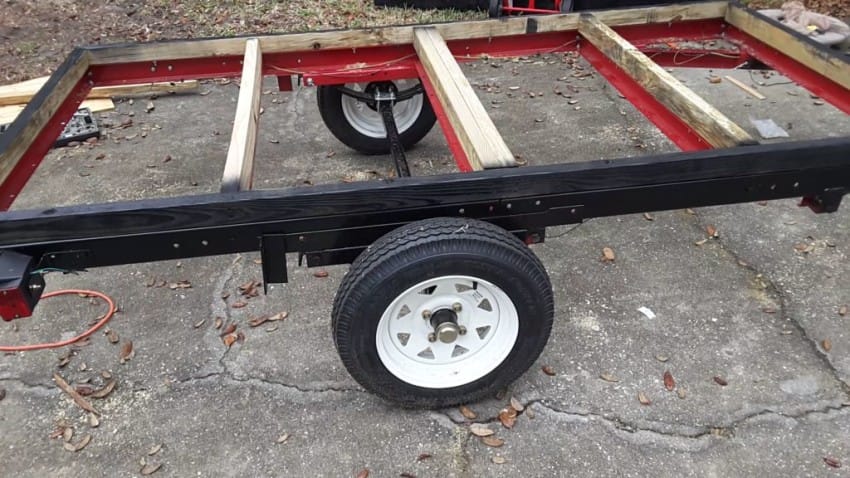
If you want to make your own teardrop camper, you need to start with a reliable trailer. You can buy a 4 x 8′ trailer at Harbor freight for under $300.
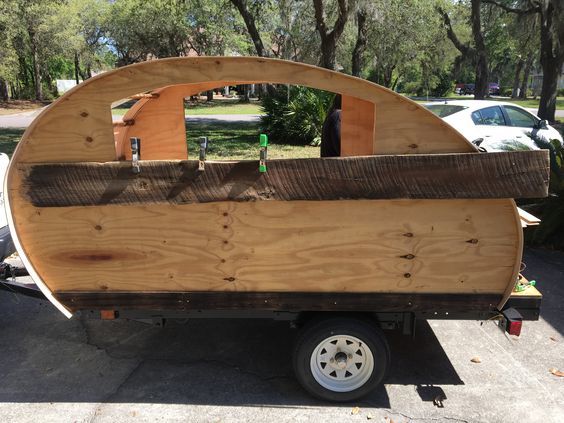
The teardrop part of the trailer is wider than the base so leave the wheel guards off so you can extend the platform past the wheels.
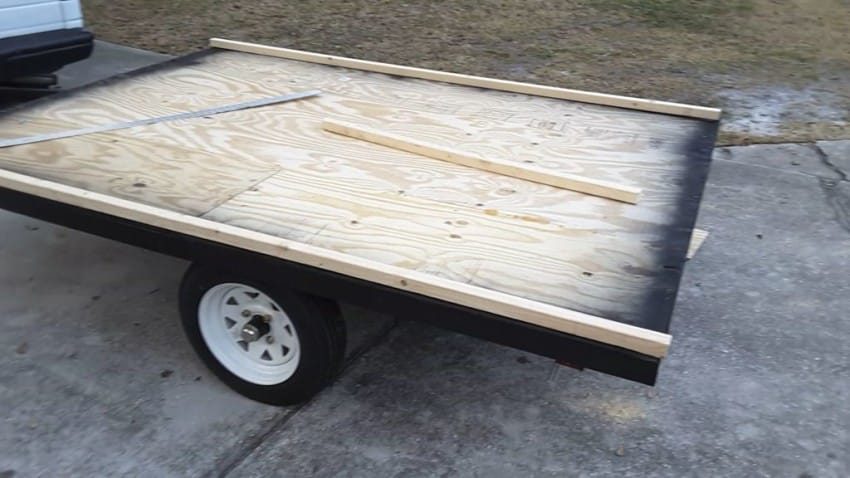
You will then move on to the riser and foundation. Make the foundation of the trailer far enough away from the tires so you don’t have any issues.
Insulation is an important part of the base of the trailer and this is the right time to add it. It can help to keep you from getting chilly on those cold nights in the woods.
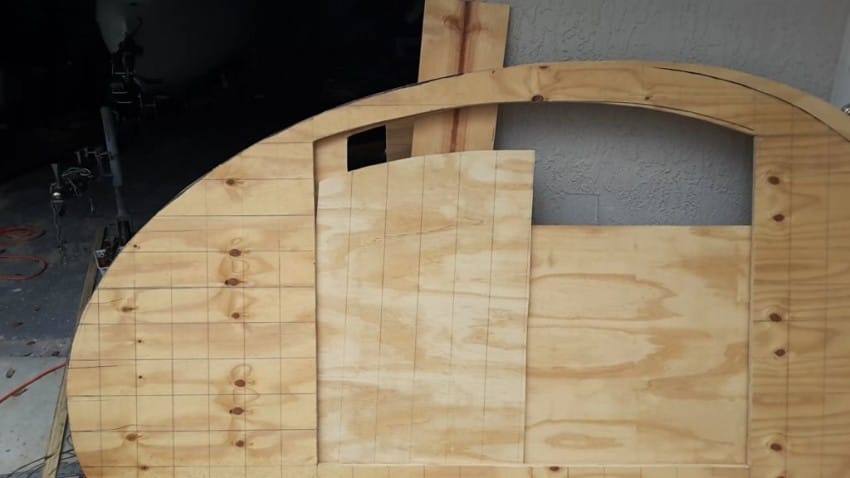
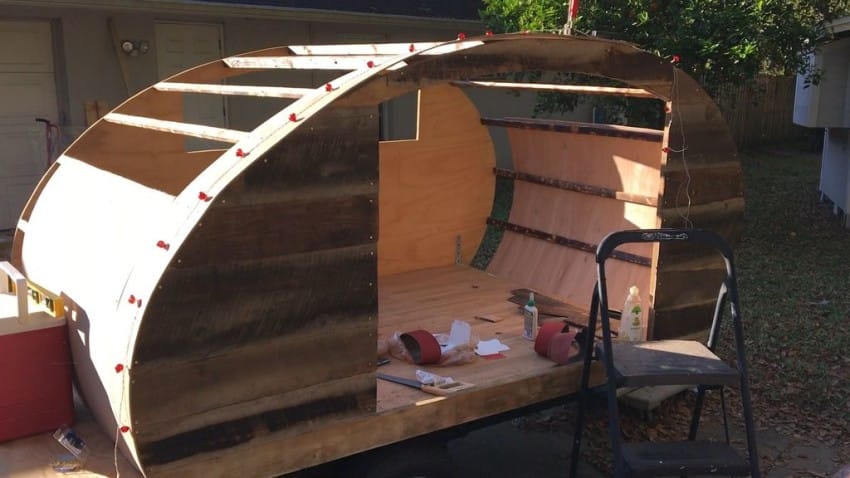
The profile of the teardrop trailer can be cut out, but make sure that you include a doorway and a window in the shell. The shell can be made of plywood.
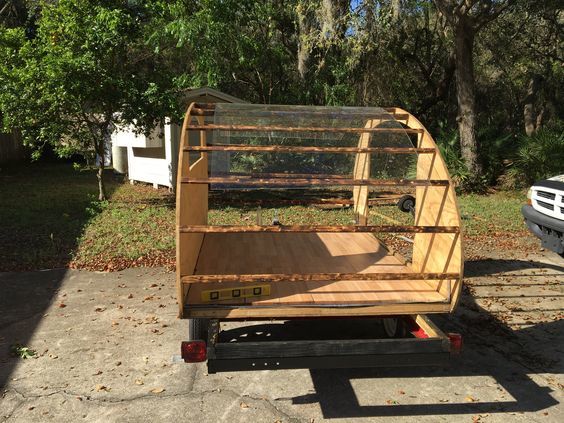
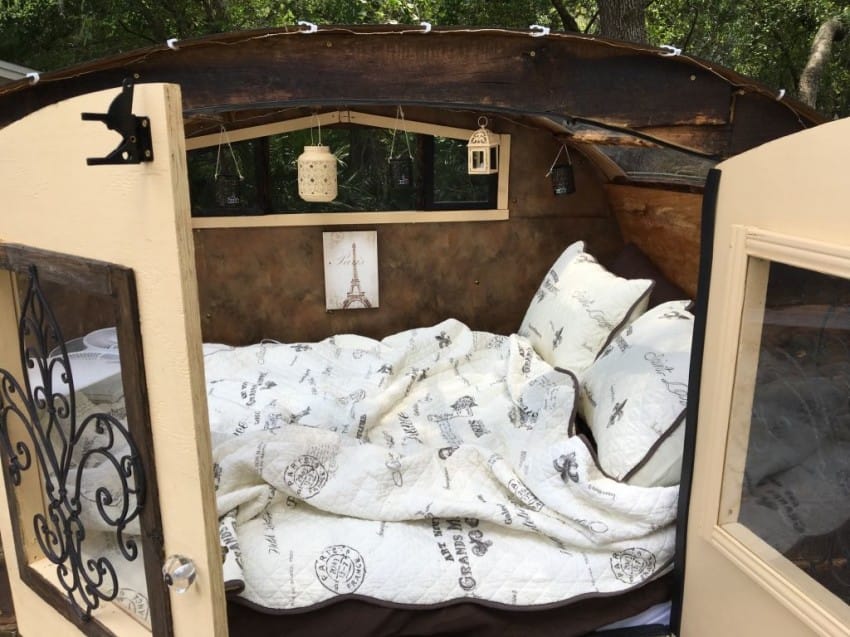
One of the best features about this project is that it allows you to get creative. In this case, a roof could have been used but he added a plexiglass skylight with exposed beams. This allows for some awesome time under the stars while still enjoying some comfort.
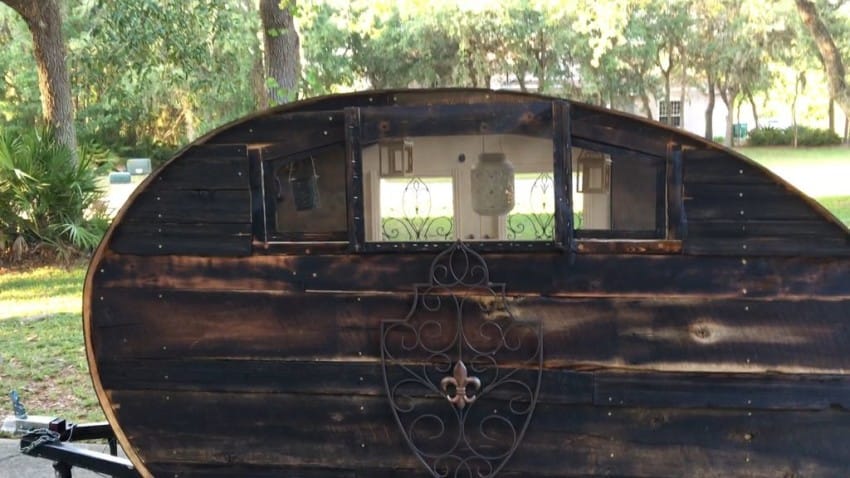
After the plywood is attached to the top of the teardrop, you can add reclaimed wood to the sides to give it some style. A burning technique was used by this DIY-er for a unique color.
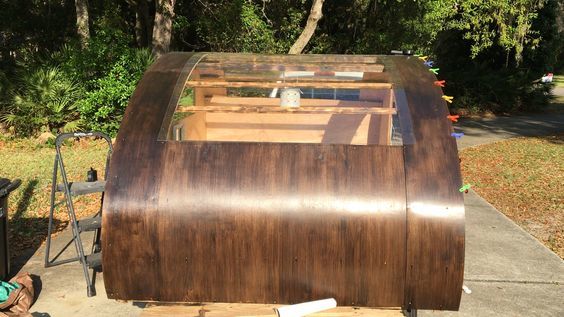
Burning the wood doesn’t keep the water out, so you have an important step to complete. Using a water sealant and protector on reclaimed wood helps to keep you nice and dry on the inside.
You can stain the top of the teardrop trailer to match the reclaimed wood siding.
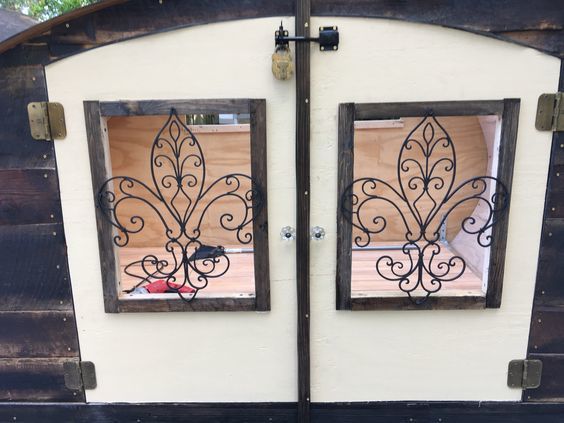
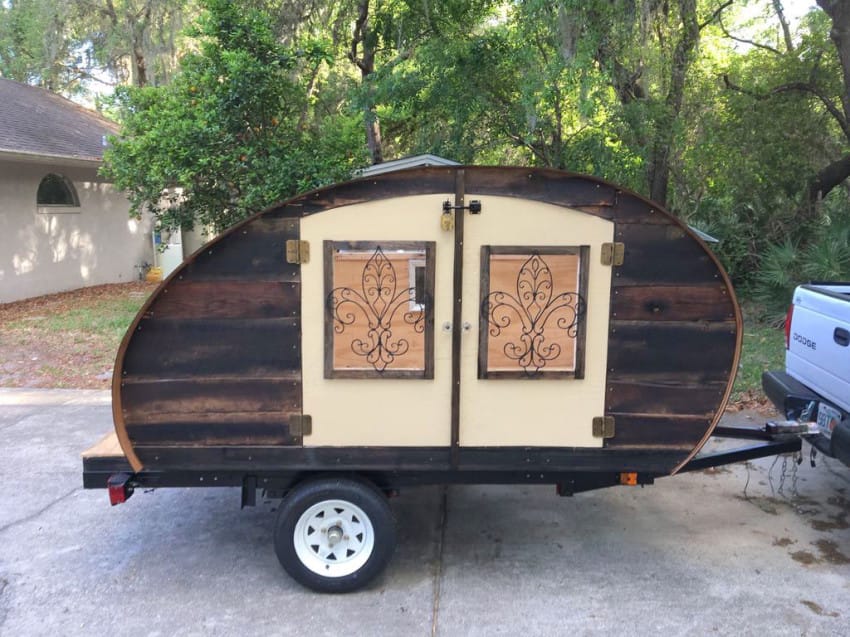
At this point, you can add the doors. Sand the door frame and add rubber door strips to make a proper seal.
Add the windows. The opening allows for air circulation during the night.
Now comes the best part, decorating the inside. There really are no methods that are better than another, just make it comfortable and aesthetically pleasing.
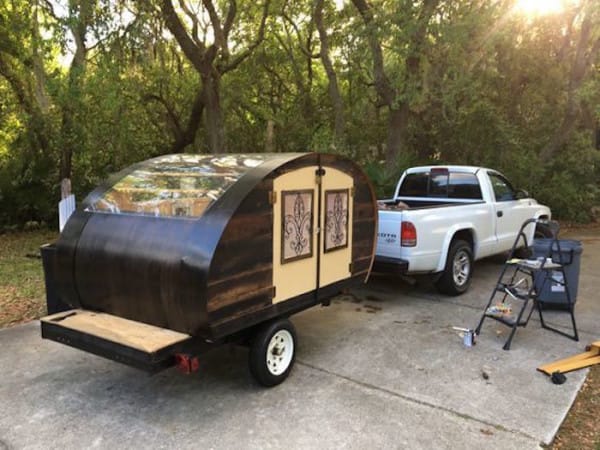
This teardrop trailer is perfect to take on any adventure.
Via: Little Things
Be sure to share this project with your friends on Facebook